Why Cape Coral, Florida, Love Our Epoxy Countertops
Tired of Dull, Damaged Surfaces? We’ve Got the Epoxy Fix. At Amazing Epoxy Garage, we specialize in solving those everyday frustrations with high-performance, visually stunning epoxy solutions. Whether you’re dealing with a garage floor that’s seen better days or dreaming of a custom countertop that reflects your style, we bring craftsmanship and creativity to every project. If you can imagine it, we can epoxy it. Ready to upgrade your space? Contact us today for a free consultation and let’s design something amazing together.
Why Choose us
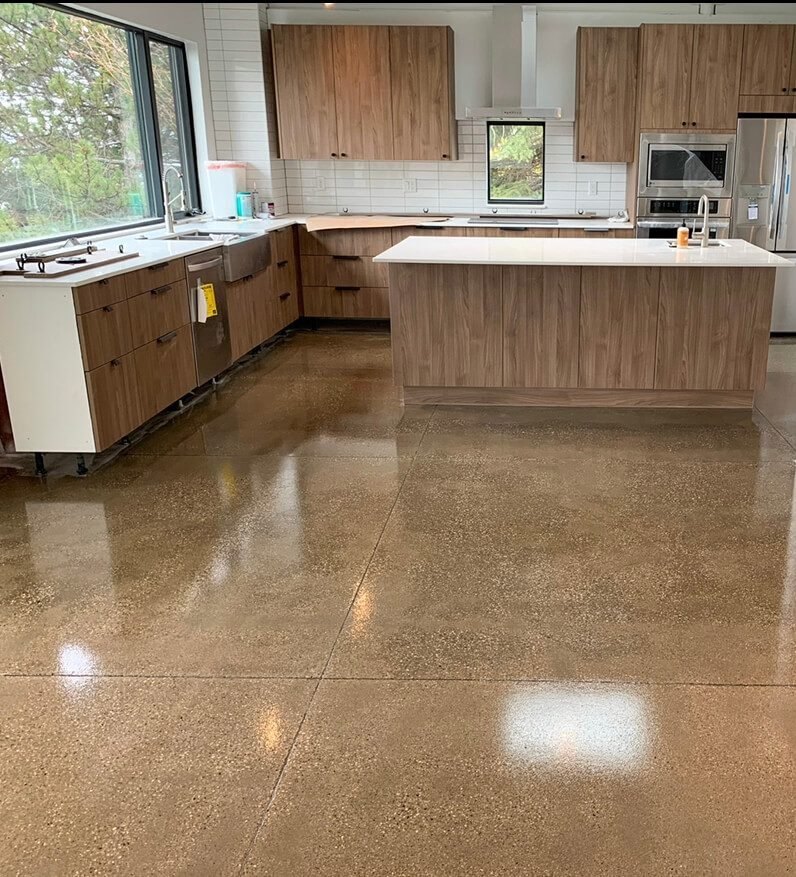
Our expertise covers everything from solid color garage coatings and flake systems to metallic finishes, 3D designs, and even hybrid mixes that combine the best of both worlds. We’ve applied epoxy to boat decks, commercial spaces, and residential interiors, always tailoring the texture and grip to suit your needs.
Durable Materials
Custom Designs
Professional Service
Innovative Techniques
Transparent Pricing
Innovative Techniques
How we Install Epoxy Countertops for Different Layers
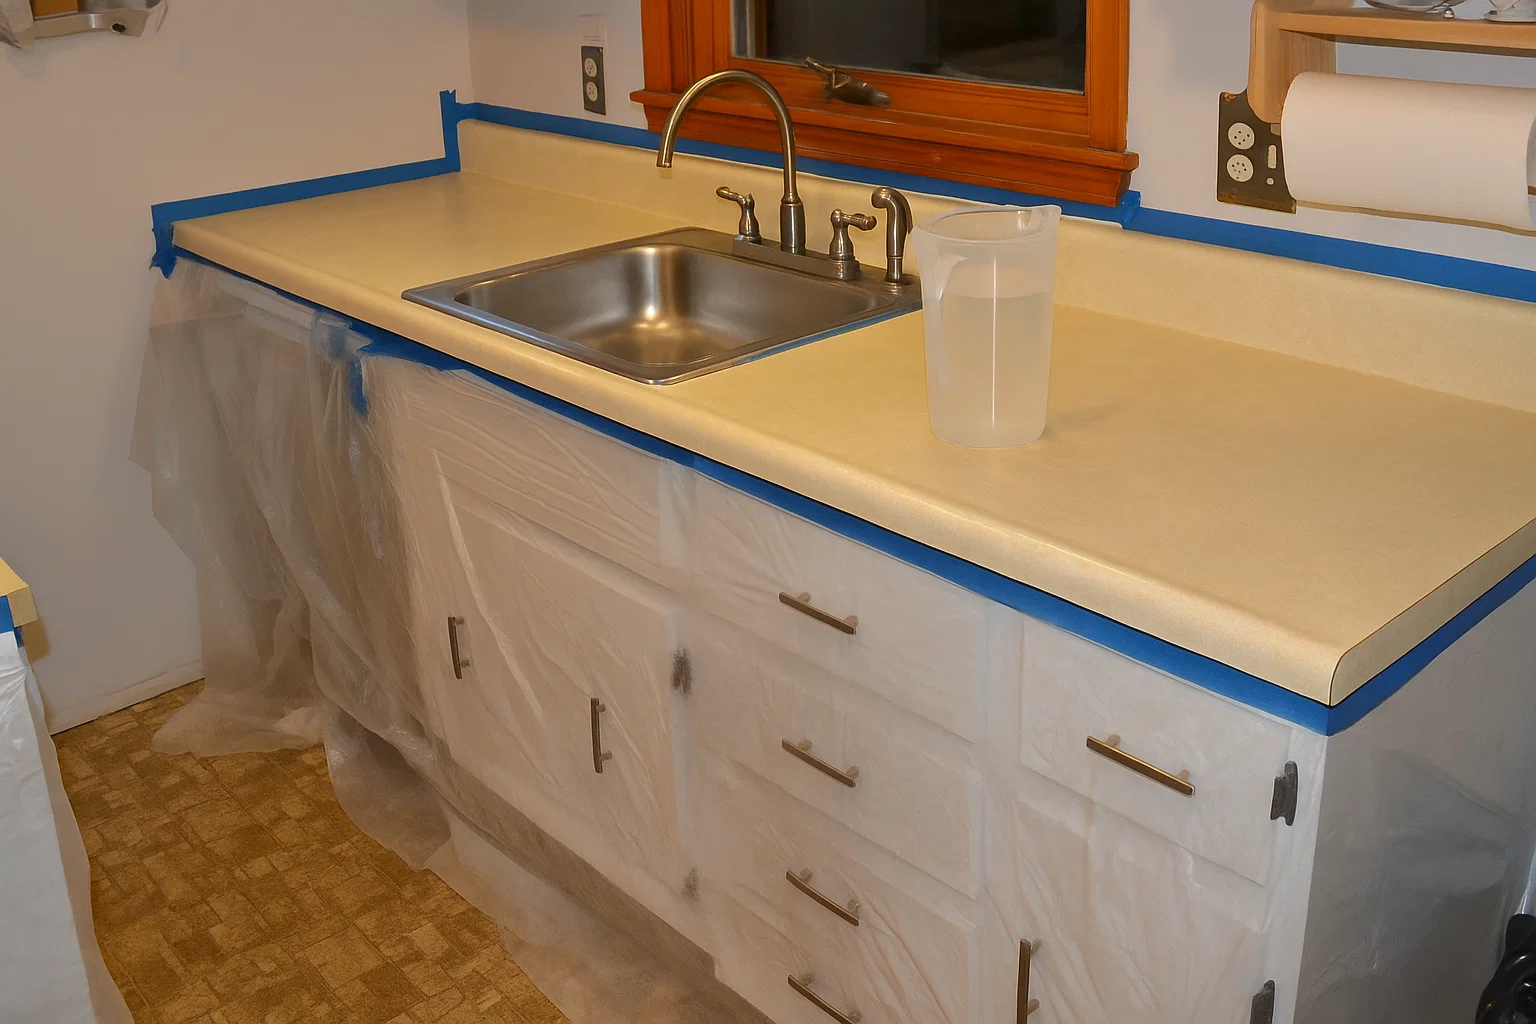
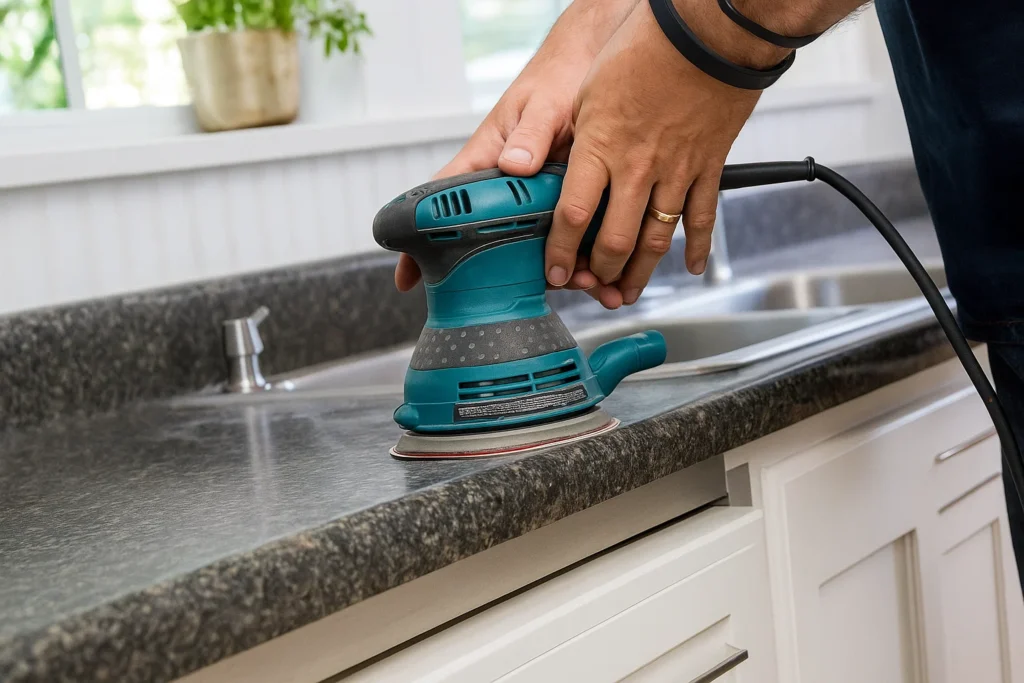
Step 1: Surface Preparation
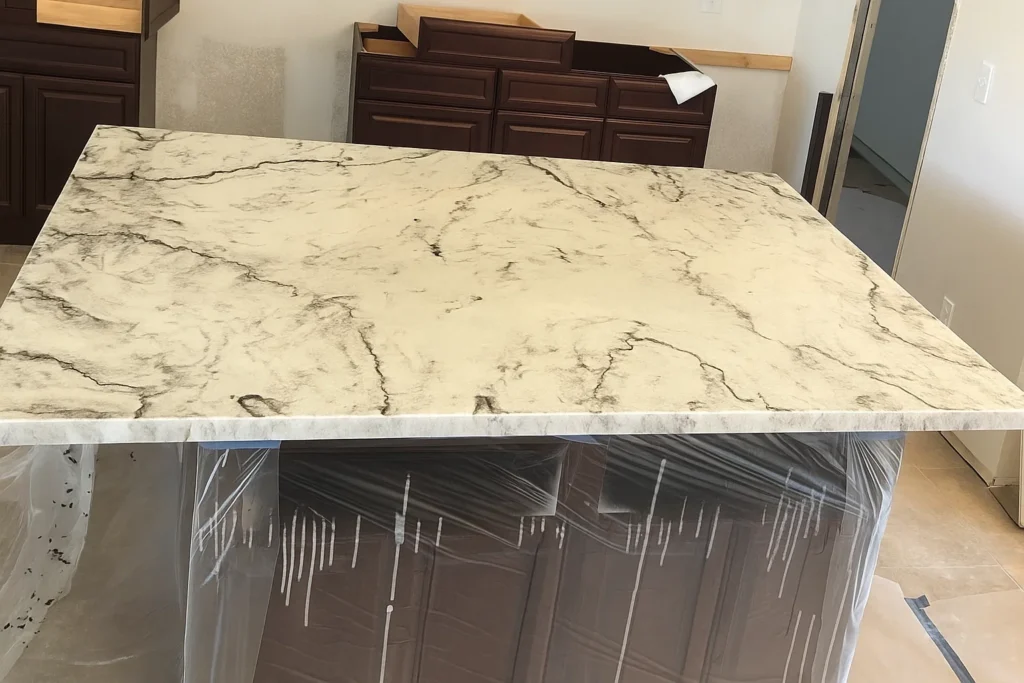
We begin by thoroughly cleaning the surface, whether it’s a countertop, backsplash, or another area. Any previous coatings must be stripped. For wood, plastic, vinyl, or similar materials, we sand with 100-grit sandpaper to create a proper bonding surface. After sanding, we wipe everything down with acetone to remove dust and debris, ensuring a clean slate for epoxy application.
Step 2: Crack Filling & Base Coat Prep
Next, we inspect for cracks or imperfections. These are filled and sanded flush to prevent future epoxy failure. Once the surface is smooth and dry, we mix and apply the base coat. This foundational layer is essential for all epoxy types metallic, flake, quartz, 3D, or solid color—as it ensures strong adhesion and long-term durability.
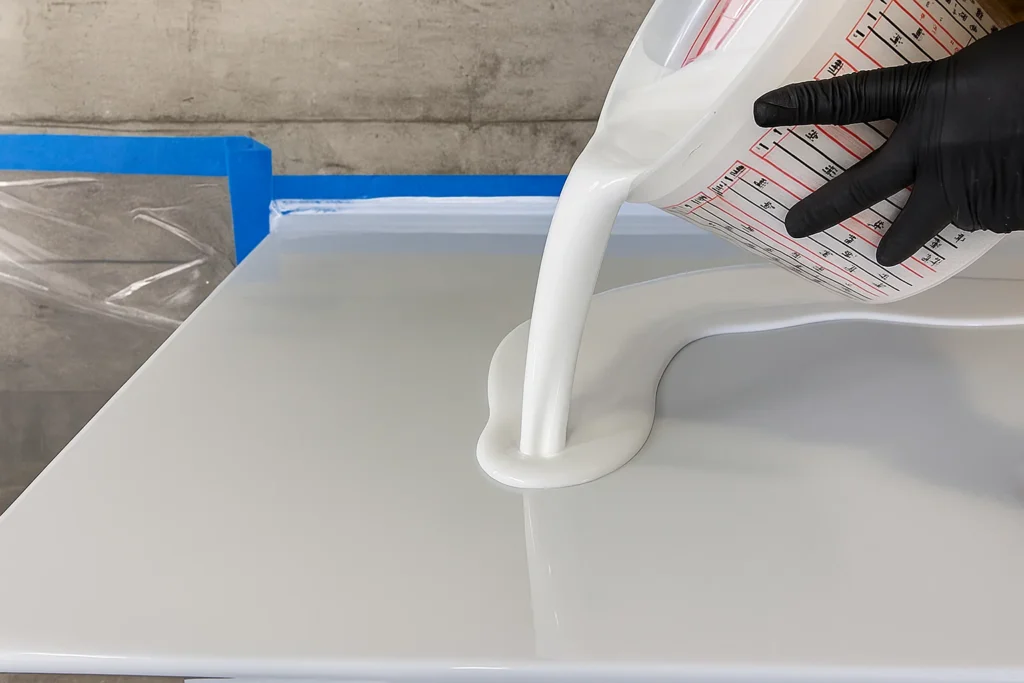
Step 3: Applying the Base Coat
We start by cutting in the edges, then pour the base coat and spread it evenly using a squeegee. For flake countertops, flakes are added directly into the wet base coat. For metallic, quartz, and 3D designs, the base coat is allowed to dry before moving to the next stage.
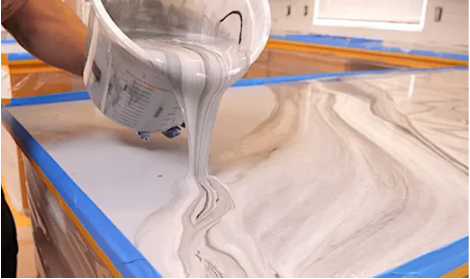
Step 4: Design Layer Application
Flake Epoxy: Once the base coat dries, we scrape off loose flakes and clean the surface.
Metallic Epoxy: We mix custom colors and pour them in patterns to create unique designs, using various tools to spread and shape the look.
Solid Color Epoxy: We pour and spread the epoxy evenly, using tools to add subtle patterns or textures.
Quartz Epoxy: A clear coat is applied, then quartz granules are broadcast across the surface until fully covered.
Step 5: Final Clear Coat
This protective layer seals the design and adds durability. After cleaning the surface of any debris or loose particles, we wipe it down with acetone. Then, we mix and pour the final clear coat, spreading it evenly. If a non-slip finish is desired, we add grit at this stage for extra traction.
Step 6: Maintenance Tips
To keep your epoxy countertops looking brand new:
Avoid dragging heavy items across the surface
Don’t cut food directly on the countertop
Clean regularly with household cleaners
Apply wax periodically to extend the lifespan
Our Trusted Clients
We wanted granite but didn’t want to spend a fortune. Epoxy countertops gave us the same high-end look at a fraction of the cost. The team was creative, professional, and the results blew us away.
Jessica
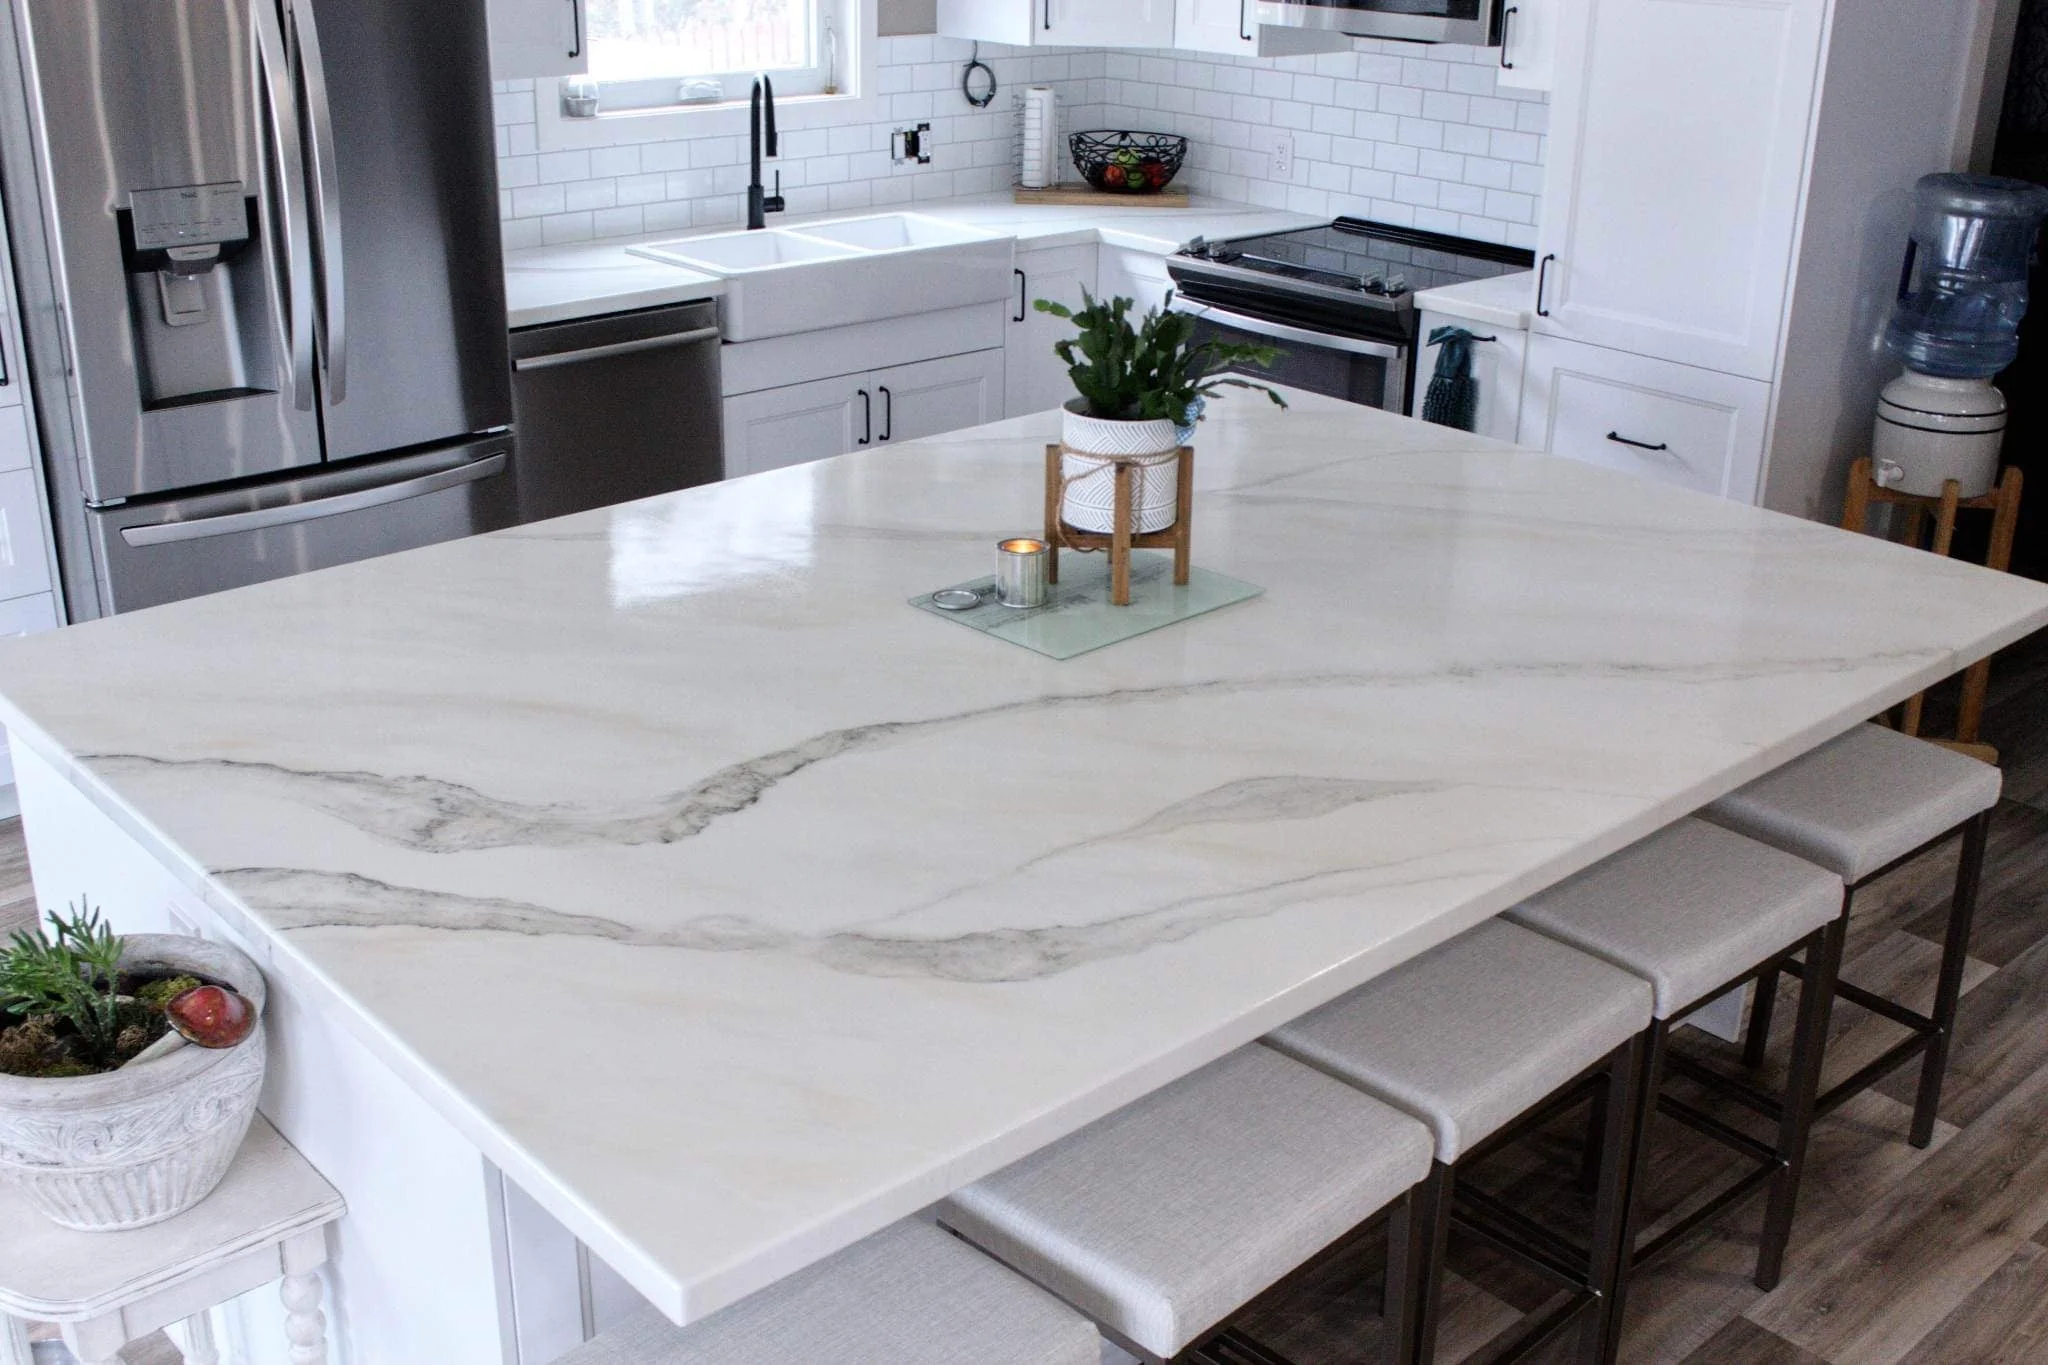
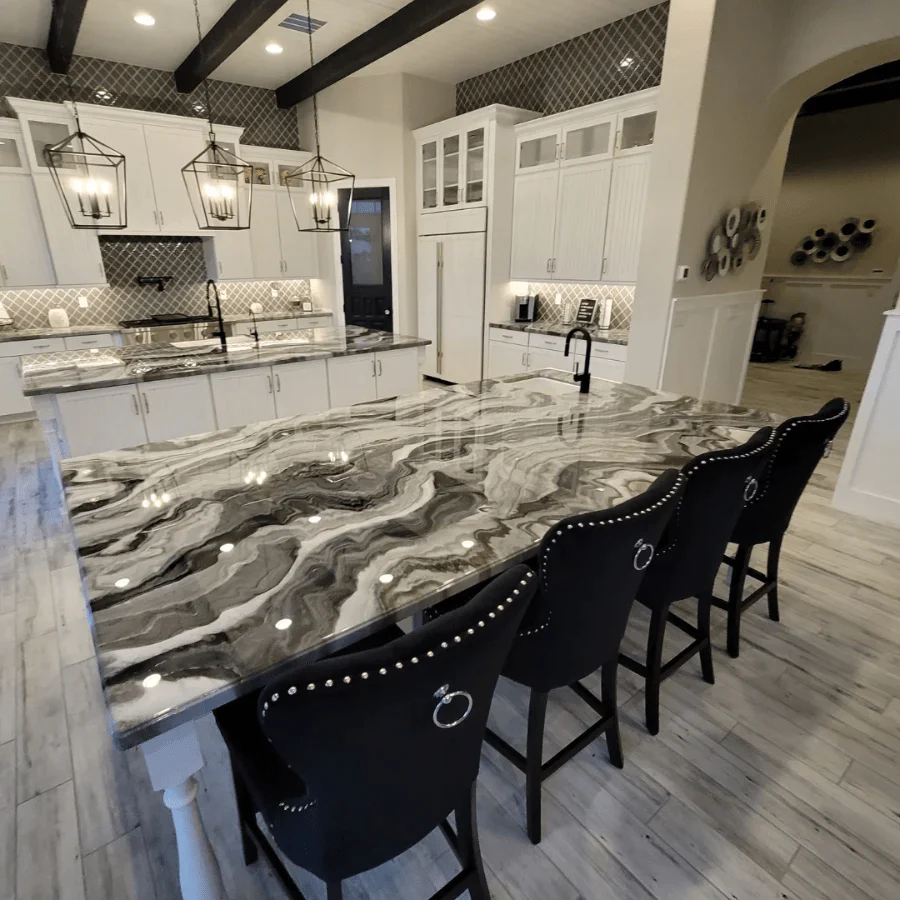
We were able to choose the exact colors and veining pattern we wanted. The epoxy countertop looks like natural stone but is more durable and easier to clean. Friends can’t believe it’s not marble!
Fort Myers
With kids in the house, we needed something stain-resistant and easy to maintain. The epoxy surface is heat resistant, doesn’t scratch easily, and cleans up in seconds. It’s perfect for our busy family.
Bonita Springs
We had old, outdated counters that made our bathroom look dull. The epoxy overlay gave it a fresh, glossy finish that looks brand new. It completely modernized the space.
Lehigh Acres
Frequently Asked Questions
Answers to Common Questions About Our Floor Coating Services
What are epoxy countertops?
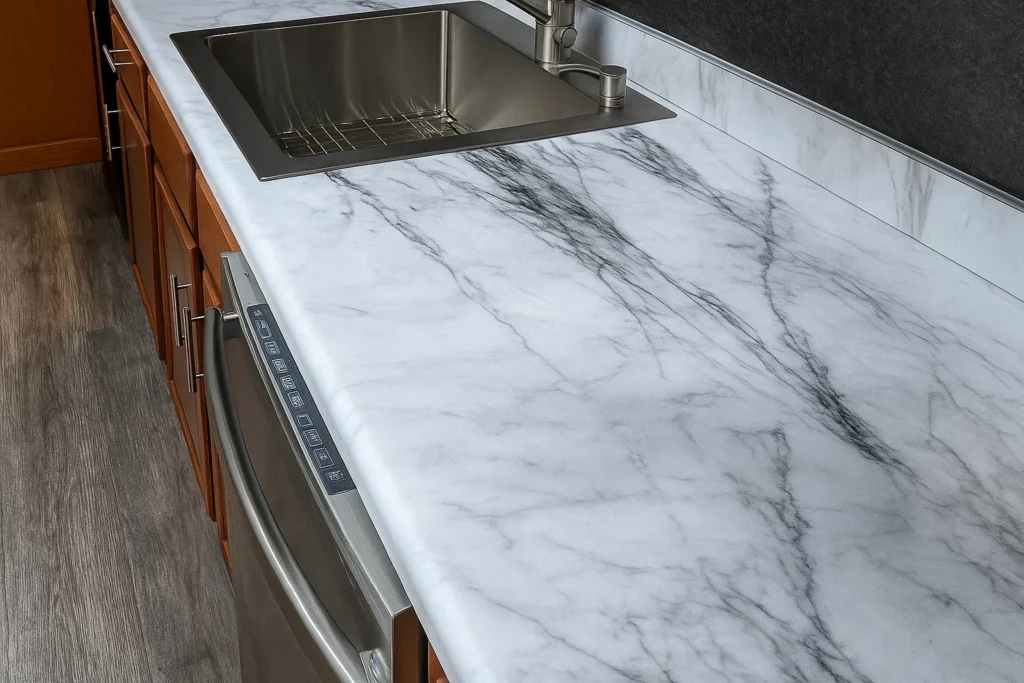
Epoxy countertops are created by applying a durable, resin-based coating over existing surfaces or custom substrates. They provide a seamless, glossy, and highly customizable finish that mimics natural stone like granite or marble.
How long does it take to install an epoxy countertop?
Installation typically takes 1–2 days, depending on the size and complexity of the countertop. Full curing may take 24–72 hours before heavy use.
Are epoxy countertops heat resistant?
Yes, epoxy countertops can handle moderate heat from pots and pans. However, it’s recommended to use trivets or hot pads to protect the surface from extreme temperatures.
How durable are epoxy countertops?
They are extremely durable, resistant to scratches, stains, and moisture. With proper care, an epoxy countertop can last 15–20 years without losing its shine.
Can I choose custom colors and patterns?
Absolutely. Epoxy is highly customizable, allowing you to select colors, metallics, swirls, or even imitate natural stone patterns to match your kitchen, bathroom, or commercial space.
How do I clean and maintain my epoxy countertop?
Maintenance is simple. Use a mild dish soap or pH-neutral cleaner with a soft cloth. Avoid abrasive scrubbing pads and harsh chemicals to maintain the glossy finish.
Can epoxy be applied over existing countertops?
Yes. Epoxy can be applied over most existing surfaces, including concrete, wood, laminate, or tile, as long as they are properly prepared and cleaned for optimal adhesion.
Will epoxy yellow or fade over time?
Modern epoxy formulas are UV-stable, reducing yellowing or fading. Proper sealing and avoiding direct prolonged sunlight can further preserve the finish.